Image tracking alignment in Hololight Stream
Objectives
-
Understand image tracking and how to use it for alignment in Hololight Stream.
-
Be able to set up a marker image to use in alignment.
-
Be able to choose between using the default marker image or a custom one.
Image tracking alignment
| Image tracking is only supported on Hololight Stream for Apple Vision Pro. |
Image tracking is when software uses a camera to recognize and track the position and orientation of a predefined marker image placed in the real world.
A marker image is an image that image tracking software can identify in a real-world space. The marker image is then used as a point around which to render 3D object.
The most common implementation is for software to use the marker image as a relative point around which to place 3D objects to create a sense that they are existing in the space with the user.
Hololight Stream uses image tracking as one method for aligning the origin.
Align the origin with image tracking
1. Choose a marker image to track
You have two options for what image you want your device to use in image tracking mode, the default marker image or a custom marker image.
Use the default marker image to align the origin
Hololight Stream comes with its own image to use with image tracking. To use this image if it isn’t already set as the tracked image:
-
Open Hololight Stream on your device.
-
Select Alignment.
-
Select Alignment mode > Image tracking.
-
Select Use default image.
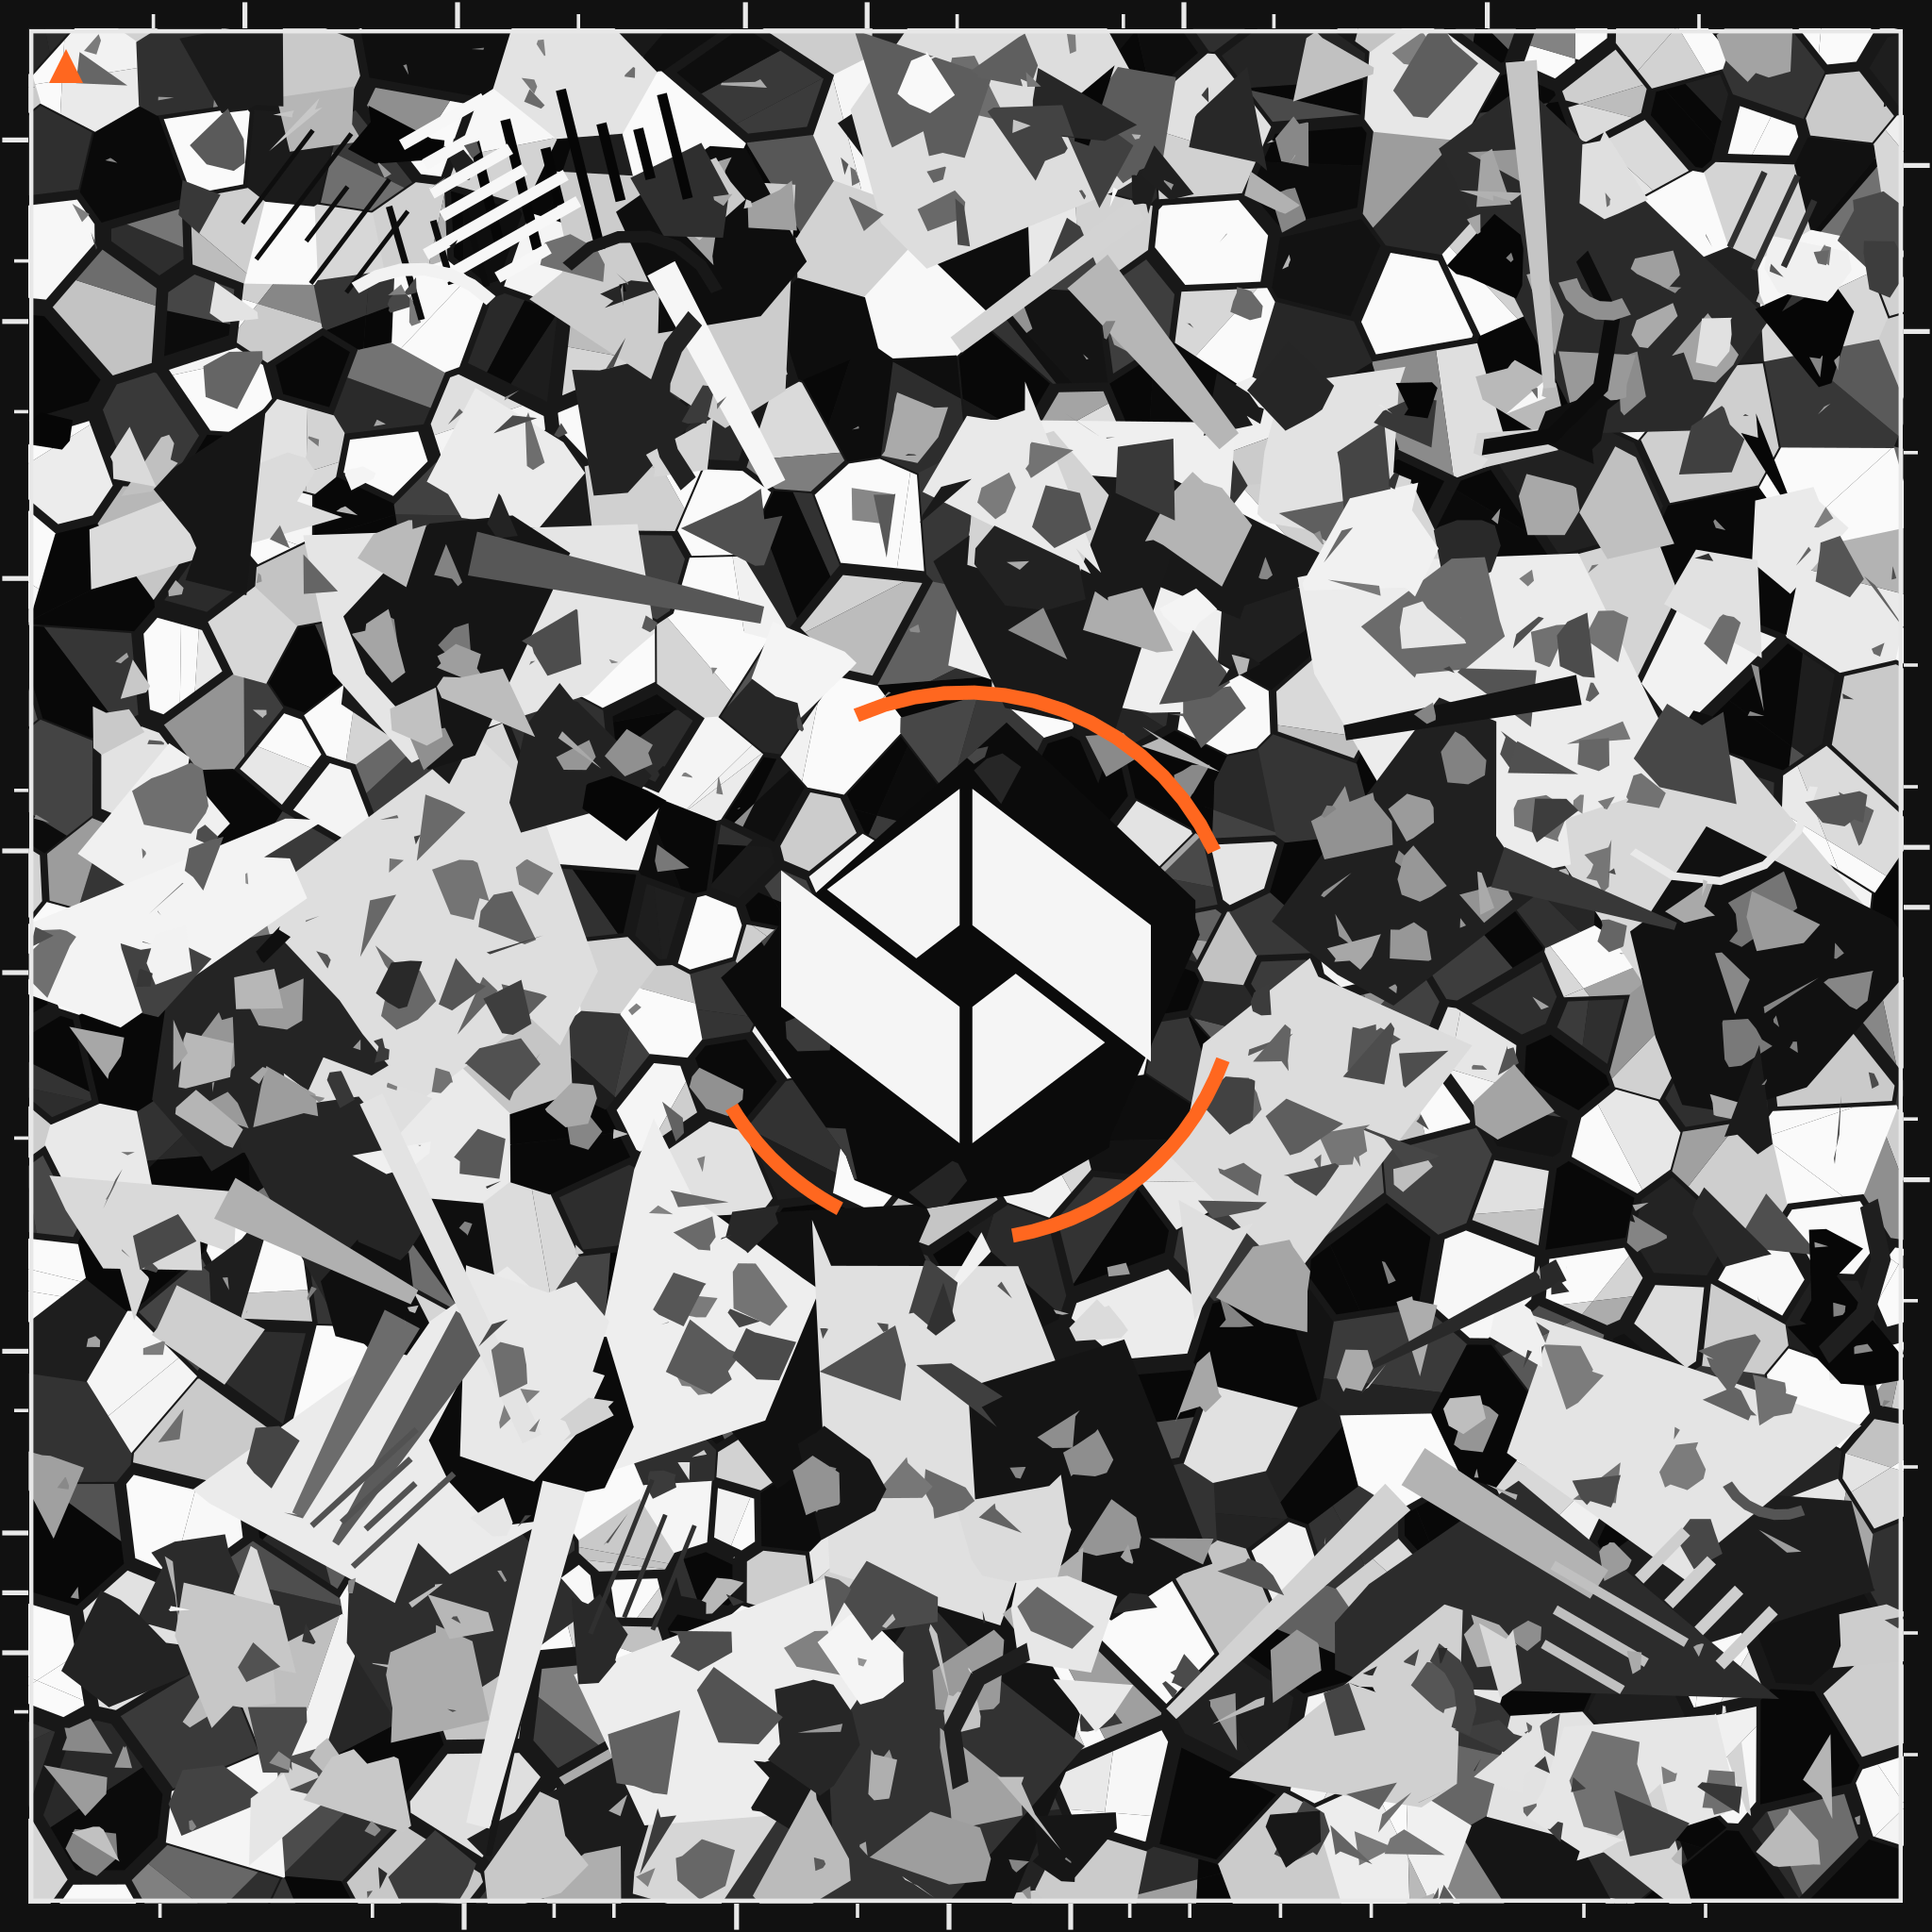
The image that appears on the screen will update with the default marker image. You can download this image marker here.
Use a custom marker image to align the origin
It may be that the Hololight Stream default marker image does not fit your use case. If that’s the case, you can choose your own marker image.
For Hololight Stream, the uploaded marker image must be at least 200 x 200 pixels.
For more information on choosing an appropriate marker image, check out Choose a custom image to use as a marker image in Hololight Stream.
Upload a custom image to the device to use as the marker image
Upload the marker image you want to use with image tracking to your device. Make sure it is in a location on the device that the device’s file browser can easily reach.
Select a custom image to use as the marker image to align the origin
-
Open Hololight Stream on your device.
-
Select Alignment.
-
Select Alignment mode > Image tracking.
-
Select Select image.
A window will open. There you can find and select the image you want to use. You will see the preview image update to reflect your selection.